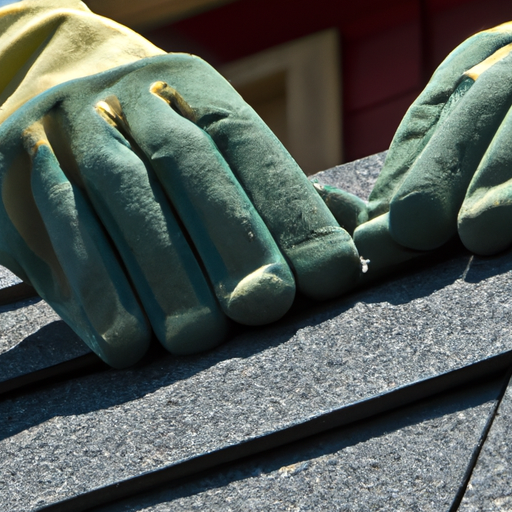
How to Start Installing Your First Row of Shingles
Installing shingles is an essential part of roofing construction. If you’re a beginner, it’s crucial to understand the proper steps to ensure a successful installation. In this guide, we will walk you through the process of starting your first row of shingles, providing you with the necessary knowledge to get the job done right.
Step 1: Gather the Required Tools and Materials
Before you begin, make sure you have all the necessary tools and materials at hand. This includes:
– Shingles: Purchase enough shingles to cover the entire roof area, plus a few extras for mistakes or replacements.
– Roofing nails: Use galvanized roofing nails that are long enough to penetrate the shingles and secure them to the roof deck.
– Roofing felt: Install a layer of roofing felt as an underlayment to provide an additional barrier against moisture.
– Utility knife: You’ll need a sharp utility knife to cut the shingles to the desired size.
– Hammer: A hammer will be used to drive the roofing nails into the shingles and roof deck.
– Measuring tape: Accurate measurements are crucial for a proper shingle installation.
– Chalk line: Use a chalk line to create straight guidelines for aligning the shingles.
Step 2: Prepare the Roof Surface
Before installing the shingles, ensure that the roof surface is clean, dry, and free from any debris. Remove any old shingles, nails, or other materials that could interfere with the installation. Inspect the roof deck for any damage or rot and make any necessary repairs before proceeding.
Step 3: Install the Starter Strip
The starter strip is a row of shingles that is installed along the eaves of the roof. It provides a solid foundation for the first row of shingles and helps prevent water from seeping under the shingles. Align the starter strip with the edge of the roof and secure it in place using roofing nails.
Step 4: Lay the First Row of Shingles
Starting from the bottom corner of the roof, place the first shingle with the tabs facing up. Align it with the guidelines you created using the chalk line. Secure the shingle in place by driving two roofing nails through the top corners, making sure to leave enough space for the next row of shingles.
Continue laying the first row of shingles, ensuring they are aligned and overlapping correctly. Use the utility knife to trim any shingles that need to fit around vents, chimneys, or other obstacles. Remember to follow the manufacturer’s instructions for proper shingle installation.
Step 5: Repeat the Process
Once the first row is complete, continue installing subsequent rows of shingles following the same process. Make sure each row overlaps the previous row according to the manufacturer’s guidelines. Use the chalk line to maintain straight lines and ensure a uniform appearance.
Step 6: Finishing Touches
After completing the shingle installation, inspect the roof for any loose or improperly secured shingles. Make any necessary adjustments or repairs to ensure a tight and secure fit. Clean up any debris or excess materials from the roof surface.
Conclusion
Installing the first row of shingles is a crucial step in roofing construction. By following these steps and using the right tools and materials, you can ensure a successful and professional-looking installation. Remember to prioritize safety and consult professional help if needed. With practice and attention to detail, you’ll become more confident in your shingle installation skills.


