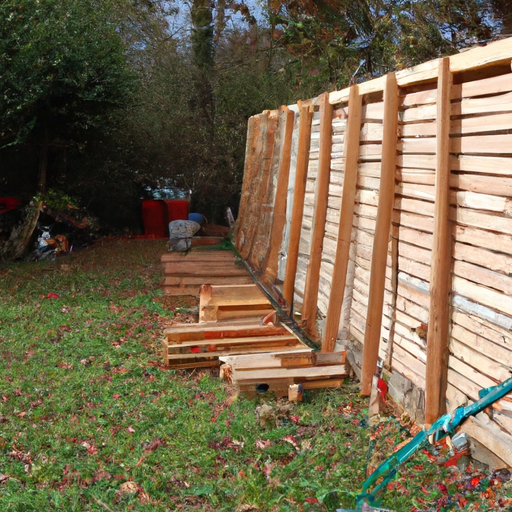
How to Create a Simple Garden Arch in 5 Easy Steps
Creating a beautiful garden arch can add a touch of elegance and charm to your outdoor space. Whether you want to frame an entryway or create a focal point in your garden, building a simple garden arch can be a fun and rewarding DIY project. In this article, we will guide you through five easy steps to create your own garden arch.
Step 1: Gather Your Materials
Before you begin, make sure you have all the necessary materials. Here’s what you’ll need:
– Four wooden posts: Choose sturdy and weather-resistant posts that are about 6 feet tall.
– Two wooden beams: These should be long enough to span the width of your desired arch.
– Screws or nails: Use these to secure the beams to the posts.
– Saw: You’ll need a saw to cut the beams to the desired length.
– Measuring tape: This will help you ensure accurate measurements.
– Drill or hammer: Use these tools to attach the beams to the posts.
Step 2: Determine the Arch Height and Width
Decide on the height and width of your garden arch. Measure the desired height from the ground up on each post and mark it. Then, measure the width between the two posts and mark it on the beams. Make sure the measurements are symmetrical and aligned.
Step 3: Cut the Beams
Using a saw, carefully cut the wooden beams to the marked length. Double-check the measurements before cutting to ensure accuracy. Smooth any rough edges with sandpaper to prevent splinters.
Step 4: Attach the Beams to the Posts
Position the beams horizontally on top of the posts, aligning them with the marked measurements. Use screws or nails to secure the beams to the posts. Make sure the beams are firmly attached and level.
Step 5: Finishing Touches
Once the beams are securely attached, step back and admire your garden arch. You can leave it as is for a natural look or paint it to match your garden’s aesthetic. Consider adding climbing plants or flowers around the arch to enhance its beauty and create a stunning focal point.
Remember to maintain your garden arch by regularly checking for any loose screws or nails and making necessary repairs. Also, keep an eye on the plants growing around the arch and trim them as needed to maintain the desired shape.
In conclusion, creating a simple garden arch is a straightforward DIY project that can elevate the look of your outdoor space. By following these five easy steps, you’ll be able to build your own garden arch and enjoy the beauty it brings to your garden. So, grab your materials and get started on this fun and rewarding project today!


