How to Switch to a Session in Ableton: A Step-by-Step Guide
Are you an Ableton user looking to switch to a session view? In this step-by-step guide, we will walk you through the process of switching to a session in Ableton Live. Whether you’re a beginner or an experienced user, this guide will help you navigate the transition smoothly.
Step 1: Launch Ableton Live
To begin, open Ableton Live on your computer. Make sure you have the latest version installed to access all the features and improvements.
Step 2: Open a New or Existing Project
Once Ableton Live is launched, you have the option to open a new project or an existing one. If you already have a project you want to switch to a session view, simply open it. Otherwise, create a new project by selecting “File” from the top menu and choosing “New Live Set.”
Step 3: Access the Session View
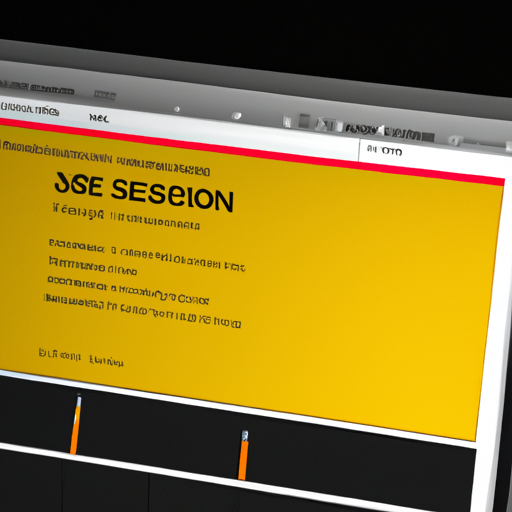
In Ableton Live, there are two main views: Arrangement view and Session view. To switch to the session view, locate the two icons at the top right corner of the Ableton Live window. The first icon represents the Arrangement view, while the second icon represents the Session view. Click on the second icon to switch to the session view.
Step 4: Familiarize Yourself with the Session View
Once you’re in the session view, take a moment to familiarize yourself with its layout and features. The session view is designed for live performances and improvisation, allowing you to trigger clips, loops, and samples on the fly.
At the top of the session view, you’ll find the master track, which controls the overall volume and other global settings. Below the master track, you’ll see multiple tracks, each representing a different instrument or sound source. These tracks contain clips that you can launch and manipulate during your performance.
Step 5: Launch Clips in the Session View
To start using the session view, you need to have clips prepared. Clips are audio or MIDI sequences that you can trigger and manipulate in real-time. To launch a clip, simply click on it in the session view. You can also use a MIDI controller or your computer keyboard to trigger clips.
Step 6: Arrange and Organize Clips
In the session view, you can arrange and organize your clips to create different sections or scenes. Scenes are horizontal rows of clips that can be triggered together to create a full arrangement. To create a scene, drag and drop clips from different tracks onto an empty scene slot.
Step 7: Record and Capture Ideas
One of the advantages of the session view is its ability to capture and record your ideas on the fly. If you come up with a new musical idea or a unique arrangement, simply hit the record button at the top of the session view. Ableton Live will start recording your performance, allowing you to capture your creativity in real-time.
Step 8: Switch Back to Arrangement View
If you want to switch back to the arrangement view, simply click on the first icon at the top right corner of the Ableton Live window. This will take you back to the traditional linear arrangement view, where you can fine-tune your composition and make further edits.
Conclusion
Switching to a session in Ableton Live opens up a whole new world of possibilities for live performances and improvisation. By following this step-by-step guide, you can seamlessly transition to the session view and start exploring its creative potential. Remember to experiment, practice, and have fun with your newfound skills in Ableton Live’s session view.


