How Are Water Meters Installed? A Step-by-Step Guide
Water meters play a crucial role in accurately measuring and monitoring water usage in residential and commercial properties. If you’re curious about how water meters are installed, this step-by-step guide will provide you with a clear understanding of the process.
Step 1: Obtain Necessary Permits
Before installing a water meter, it is essential to check with your local water utility or municipality to determine if any permits are required. This step ensures that you comply with all regulations and guidelines.
Step 2: Locate the Water Supply Line
The next step is to locate the main water supply line, which is typically located near the property’s water shut-off valve. This line is responsible for carrying water from the municipal supply to the property.
Step 3: Shut Off the Water Supply
To ensure a safe installation process, it is crucial to shut off the water supply before proceeding. Locate the water shut-off valve and turn it clockwise until it is fully closed. This step prevents any water flow during the installation.
Step 4: Prepare the Installation Area
Clear the area around the water supply line and ensure there is enough space for the water meter installation. Remove any debris or obstructions that may hinder the process.
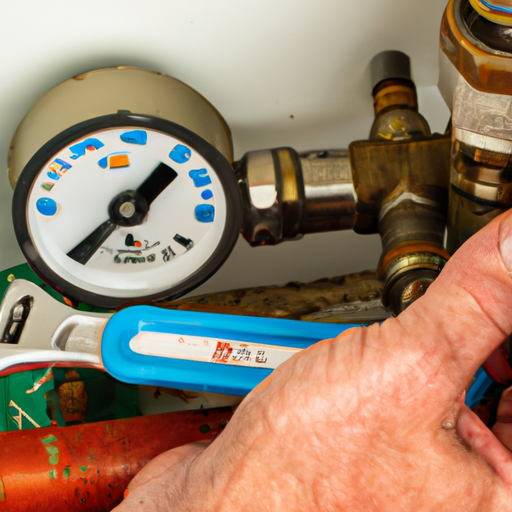
Step 5: Install the Water Meter
Carefully follow the manufacturer’s instructions for installing the water meter. Typically, this involves cutting the water supply line and attaching the meter using appropriate fittings and connectors. Ensure that all connections are secure and leak-free.
Step 6: Test for Leaks
Once the water meter is installed, it is crucial to test for any leaks. Turn on the water supply and inspect the connections for any signs of leakage. If any leaks are detected, make the necessary adjustments or seek professional assistance.
Step 7: Record the Initial Reading
After confirming that there are no leaks, record the initial reading on the water meter. This reading will serve as the starting point for measuring water usage accurately.
Step 8: Restore Water Supply
Once the installation is complete, and there are no leaks, it is time to restore the water supply. Turn the water shut-off valve counterclockwise to reopen the water flow. Ensure that the water is flowing correctly and check for any irregularities.
Step 9: Finalize Paperwork
Finally, complete any necessary paperwork or documentation required by your local water utility or municipality. This step ensures that your water meter installation is officially recorded and registered.
Conclusion
Installing a water meter involves several essential steps, including obtaining permits, locating the water supply line, shutting off the water supply, preparing the installation area, installing the water meter, testing for leaks, recording the initial reading, restoring the water supply, and finalizing paperwork. By following this step-by-step guide, you can ensure a successful water meter installation process. Remember, if you encounter any difficulties or are unsure about any step, it is always best to seek professional assistance to ensure a safe and accurate installation.