How to Bake Sharpie on Ceramic: A Step-by-Step Guide
If you’re looking to add a personal touch to your ceramic pieces, using Sharpie markers can be a fun and creative way to do so. However, to ensure that the design stays intact and doesn’t fade or smudge over time, it’s important to bake the Sharpie on the ceramic. In this step-by-step guide, we will walk you through the process of baking Sharpie on ceramic to achieve long-lasting results.
Step 1: Gather Your Materials
Before you begin, make sure you have all the necessary materials at hand. You will need:
– Ceramic piece(s) to decorate
– Sharpie markers (oil-based or permanent)
– Rubbing alcohol
– Cotton swabs or soft cloth
– Oven
– Baking sheet
– Oven mitts
Step 2: Prepare the Surface
Start by cleaning the ceramic surface thoroughly. Use rubbing alcohol and a cotton swab or soft cloth to remove any dirt, dust, or oils. This step is crucial as it ensures better adhesion of the Sharpie ink to the ceramic.
Step 3: Design Your Ceramic Piece
Let your creativity shine! Use the Sharpie markers to draw or write your desired design on the ceramic surface. Remember to use oil-based or permanent Sharpie markers as they are more resistant to fading and smudging.
Step 4: Allow the Ink to Dry
Once you have finished your design, allow the ink to dry completely. This may take a few minutes, depending on the thickness of the ink and the ambient humidity. Patience is key here to avoid smudging the design.
Step 5: Preheat the Oven
Preheat your oven to 350°F (175°C). It’s important to let the oven reach the desired temperature before placing the ceramic piece inside.
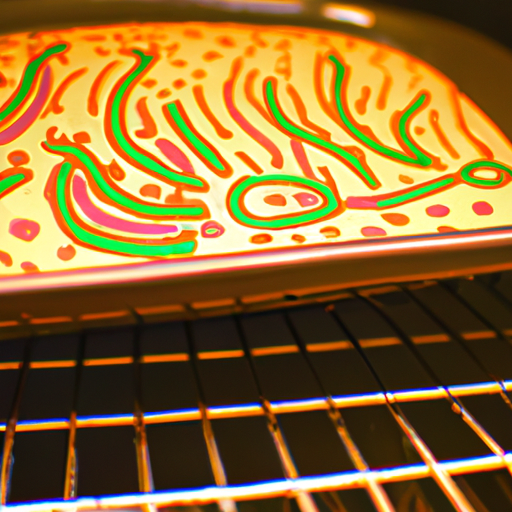
Step 6: Bake the Ceramic Piece
Place the ceramic piece on a baking sheet and carefully put it in the preheated oven. Let it bake for 30 minutes to allow the Sharpie ink to set and bond with the ceramic surface.
Step 7: Cool and Protect
After 30 minutes, turn off the oven and leave the ceramic piece inside to cool down gradually. This helps prevent any sudden temperature changes that could cause cracking. Once cooled, you can apply a clear sealant or glaze to protect the design further.
Step 8: Enjoy and Care for Your Decorated Ceramic
Congratulations! You have successfully baked Sharpie on ceramic. Now, you can proudly display or use your personalized ceramic piece. To ensure its longevity, hand wash it gently using mild soap and avoid using abrasive materials or harsh chemicals.
In conclusion, baking Sharpie on ceramic is a simple process that allows you to create beautiful and personalized designs. By following these step-by-step instructions, you can achieve long-lasting results and enjoy your decorated ceramic pieces for years to come. So, grab your Sharpie markers and let your creativity run wild!