Introduction
Building a wooden fence can be a rewarding and practical project for homeowners looking to enhance their property’s privacy and security. Whether you’re a seasoned DIY enthusiast or a beginner, this step-by-step guide will walk you through the process of building a wooden fence.
1. Planning and Preparation
Before you start building your wooden fence, it’s essential to plan and prepare adequately. Here are the key steps to follow:
1. Measure the area: Begin by measuring the length and height of the fence you want to build. This will help you determine the amount of materials needed.
2. Check local regulations: Research and ensure compliance with any local regulations, such as height restrictions or property line setbacks.
3. Choose the right wood: Select a suitable type of wood for your fence, considering factors like durability, appearance, and budget. Common options include cedar, pine, and redwood.
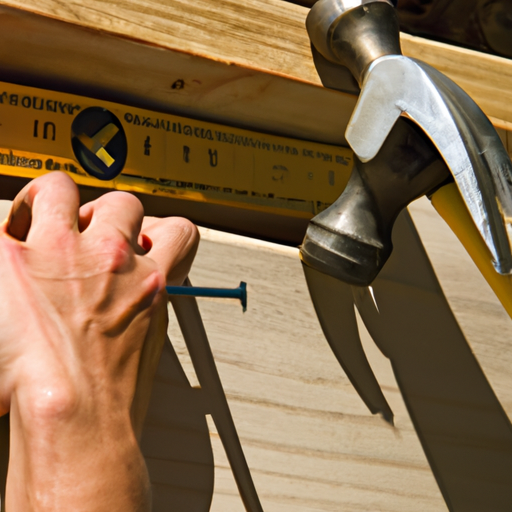
4. Gather materials and tools: Make a list of all the necessary materials and tools, such as fence posts, rails, pickets, nails, screws, a post hole digger, a level, and a saw.
2. Marking and Digging Fence Post Holes
Once you have everything you need, it’s time to mark and dig the fence post holes. Follow these steps:
1. Mark the post locations: Use stakes and string to mark the exact locations where the fence posts will be installed. Ensure the spacing is consistent.
2. Dig the post holes: Use a post hole digger to dig holes at least one-third the height of the fence posts. The diameter should be wider at the bottom for stability.
3. Set the posts: Place the fence posts in the holes, ensuring they are level and plumb. Fill the holes with concrete or gravel, leaving enough time for it to set.
3. Installing Fence Rails and Pickets
With the fence posts securely in place, it’s time to install the rails and pickets. Follow these steps:
1. Attach the rails: Measure and cut the fence rails to the appropriate length. Attach them horizontally between the fence posts, using nails or screws.
2. Install the pickets: Measure and cut the pickets to the desired height. Attach them vertically to the rails, leaving equal spacing between each picket. Use nails or screws to secure them.
3. Add post caps and trim: Enhance the appearance of your fence by adding post caps and trim pieces. These can be nailed or glued onto the top of the fence posts and along the edges of the pickets.
4. Finishing Touches
To ensure the longevity and aesthetics of your wooden fence, consider these finishing touches:
1. Apply a protective finish: Apply a weather-resistant finish, such as stain or paint, to protect the wood from moisture, UV rays, and other elements.
2. Regular maintenance: Regularly inspect your fence for any damage or signs of wear. Make necessary repairs and reapply the protective finish as needed.
3. Landscaping: Enhance the overall look of your fence by adding landscaping elements, such as plants, shrubs, or decorative stones, around its perimeter.
Conclusion
Building a wooden fence requires careful planning, precise measurements, and proper execution. By following this step-by-step guide, you can create a beautiful and functional fence that adds value to your property. Remember to prioritize safety and compliance with local regulations throughout the process. Happy fencing!