How to Make Epsom Salt Crystals: A Step-by-Step Guide
Epsom salt crystals are not only beautiful to look at but also have various therapeutic benefits. Making your own Epsom salt crystals is a fun and easy DIY project that you can do at home. In this tutorial, we will guide you through the process of creating Epsom salt crystals using a YouTube tutorial as a reference.
Gathering the Materials
Before you begin, make sure you have all the necessary materials. Here’s what you’ll need:
1. Epsom salt: You can easily find Epsom salt at your local pharmacy or grocery store. Make sure to get enough to create a substantial amount of crystals.
2. Boiling water: You’ll need boiling water to dissolve the Epsom salt and create a saturated solution.
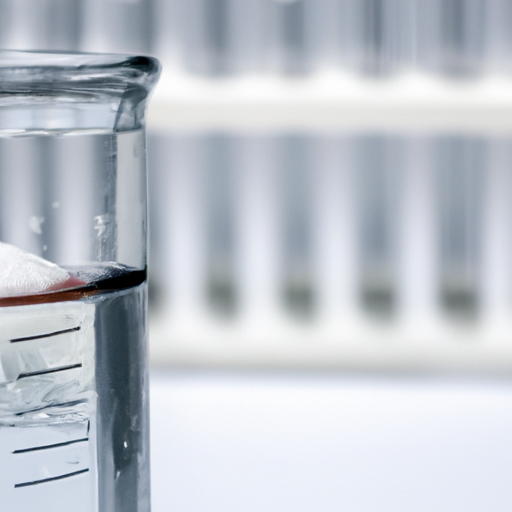
3. Glass container: Choose a glass container that is large enough to hold the solution and allow room for crystal growth. A mason jar or a glass bowl works well.
4. String or pipe cleaner: You’ll need a string or a pipe cleaner to act as a seed for crystal formation. Make sure it is long enough to hang into the solution without touching the sides or bottom of the container.
5. Pencil or popsicle stick: This will be used to suspend the string or pipe cleaner in the container.
Creating the Epsom Salt Solution
1. Start by boiling water in a kettle or on the stovetop. You’ll need enough water to completely dissolve the Epsom salt.
2. Once the water is boiling, carefully pour it into your glass container. Leave some space at the top to avoid overflow when you add the Epsom salt.
3. Gradually add the Epsom salt to the hot water, stirring continuously until it is completely dissolved. Keep adding the salt until no more can dissolve, creating a saturated solution. This is an important step to ensure crystal growth.
Seeding the Crystals
1. Take your string or pipe cleaner and tie it to a pencil or popsicle stick, ensuring that it hangs freely in the solution without touching the sides or bottom of the container.
2. Gently lower the seed into the solution, making sure it is fully submerged. The seed will act as a starting point for crystal growth.
Crystal Growth
1. Place the container in a cool and undisturbed area where it won’t be disturbed for several days. Avoid direct sunlight or heat sources as they can affect crystal formation.
2. Over time, you will start to see Epsom salt crystals forming on the seed and along the sides of the container. The crystals will continue to grow larger with time.
3. Allow the crystals to grow for at least a week or until they reach the desired size. The longer you leave them, the larger they will become.
Final Tips
– If you want colored crystals, you can add a few drops of food coloring to the solution before seeding the crystals.
– Experiment with different shapes and sizes of containers to create unique crystal formations.
– Once the crystals have reached the desired size, carefully remove them from the container and let them dry on a paper towel. You can then display them or use them for various purposes.
In conclusion, making Epsom salt crystals is a fascinating and rewarding DIY project. By following this step-by-step guide and using a YouTube tutorial as a reference, you can create your own stunning Epsom salt crystals. Enjoy the process and have fun experimenting with different techniques and variations!