How to Put a Bumper on a Wall: A Step-by-Step Guide
Are you looking to protect your walls from accidental bumps and scrapes? Adding a bumper to your wall is a simple and effective solution. In this step-by-step guide, we will walk you through the process of putting a bumper on a wall. Follow these instructions carefully to ensure a successful installation.
Step 1: Gather the Necessary Materials
Before you begin, make sure you have all the materials you need. Here’s a list of what you’ll require:
– Wall bumper
– Measuring tape
– Pencil
– Level
– Screwdriver or drill
– Screws or adhesive
Step 2: Choose the Right Location
Decide where you want to place the bumper on the wall. Consider areas that are prone to accidental bumps, such as corners or areas near furniture. Measure the height at which you want the bumper to be installed and mark it with a pencil.
Step 3: Prepare the Wall
If you are using adhesive-backed bumpers, clean the wall surface thoroughly to ensure proper adhesion. If you are using screw-in bumpers, use a screwdriver or drill to create pilot holes at the marked locations.
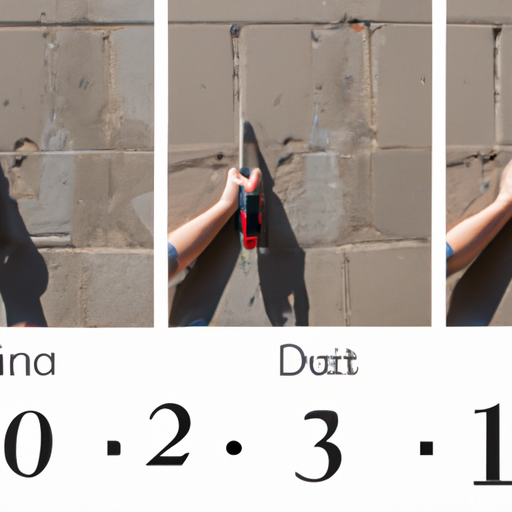
Step 4: Install the Bumper
If you are using adhesive-backed bumpers, simply peel off the backing and press the bumper firmly onto the marked location. Make sure to apply even pressure to ensure a secure bond.
If you are using screw-in bumpers, align the holes on the bumper with the pilot holes on the wall. Insert screws through the holes and tighten them using a screwdriver or drill. Make sure the bumper is securely attached to the wall.
Step 5: Check for Stability
Once the bumper is installed, use a level to ensure it is straight and aligned properly. Give it a gentle push to test its stability. If it feels loose, tighten the screws or reapply adhesive as necessary.
Step 6: Clean Up
Remove any pencil markings and clean the area around the bumper to give it a finished look.
Congratulations! You have successfully put a bumper on your wall. Now you can enjoy added protection against accidental bumps and scrapes.
Remember, the process may vary depending on the type of bumper you choose and the specific instructions provided by the manufacturer. Always refer to the product manual for any additional guidance.
By following this step-by-step guide, you can easily put a bumper on a wall and keep your walls looking pristine for years to come.