How Do You Use a Tile Leveling System? A Step-by-Step Guide!
Using a tile leveling system is a great way to ensure that your tile installation is flawless and professional-looking. Whether you’re a seasoned DIY enthusiast or a professional contractor, this step-by-step guide will walk you through the process of using a tile leveling system effectively.
Step 1: Gather the Necessary Tools
Before you begin, make sure you have all the tools you need for the job. Here’s a list of essential tools for using a tile leveling system:
1. Tile leveling clips: These are the small plastic pieces that hold the tiles in place.
2. Tile leveling wedges: These are used to tighten the leveling clips and create an even surface.
3. Tile adhesive: Choose a high-quality adhesive that is suitable for your specific tile type.
4. Trowel: Use a notched trowel to apply the adhesive evenly on the surface.
5. Rubber mallet: This will be used to gently tap the tiles into place.
Step 2: Prepare the Surface
Ensure that the surface where you’ll be installing the tiles is clean, dry, and free of any debris. Remove any old adhesive or grout, and make sure the surface is level. If needed, use a self-leveling compound to even out any uneven areas.
Step 3: Apply the Tile Adhesive
Using a notched trowel, spread a layer of tile adhesive on the prepared surface. Make sure the adhesive is evenly distributed and covers the entire area where you’ll be installing the tiles.
Step 4: Place the Tiles
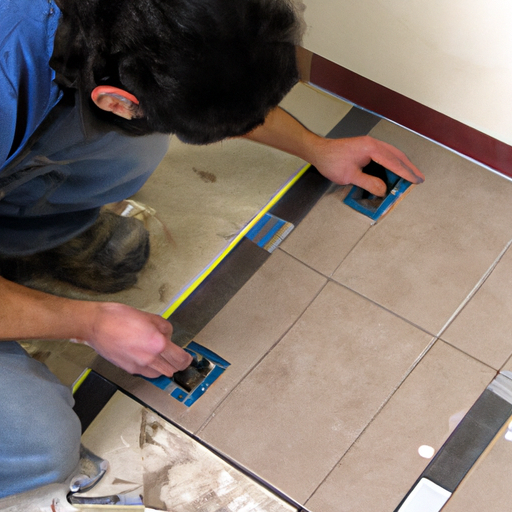
Carefully place the first tile on the adhesive, pressing it firmly into place. Ensure that it is level and aligned with the surrounding tiles. Insert a tile leveling clip on each side of the tile, positioning them at an equal distance from the corners.
Step 5: Secure the Tiles
Insert a tile leveling wedge into each leveling clip and use a rubber mallet to gently tap them until the tiles are level and aligned. Be careful not to apply excessive force, as it may damage the tiles.
Step 6: Repeat the Process
Continue placing tiles, inserting leveling clips, and securing them with wedges. Work in small sections to ensure that the adhesive doesn’t dry before you can level the tiles. Periodically check the level of the tiles using a spirit level to ensure accuracy.
Step 7: Remove Excess Adhesive
Once the adhesive has dried, remove the leveling clips and wedges by kicking them at a 45-degree angle. Use a putty knife or a similar tool to scrape off any excess adhesive that may have squeezed out between the tiles.
Step 8: Grout the Tiles
After allowing the adhesive to fully cure, follow the manufacturer’s instructions to apply grout between the tiles. Use a grout float to spread the grout evenly and remove any excess. Allow the grout to dry according to the recommended time.
Step 9: Clean the Tiles
Once the grout has dried, use a damp sponge to clean the tiles and remove any grout haze. Be gentle to avoid disturbing the newly installed tiles.
Step 10: Enjoy Your Beautifully Leveled Tiles!
Congratulations! You have successfully used a tile leveling system to install your tiles. Admire your handiwork and enjoy the professional finish of your leveled tile installation.
Using a tile leveling system can significantly improve the quality and appearance of your tile installation. By following this step-by-step guide, you can achieve a flawless and level surface that will stand the test of time. Happy tiling!