Step 1: Prepare the Surface
Before using gap filler, it’s important to prepare the surface properly. Start by cleaning the area to remove any dirt, dust, or debris. You can use a damp cloth or a mild detergent solution for this purpose. Make sure the surface is completely dry before moving on to the next step.
Step 2: Choose the Right Gap Filler
There are different types of gap fillers available in the market, so it’s essential to choose the one that suits your specific needs. Consider factors such as the size of the gap, the material you’re working with, and the desired finish. Read the product labels and choose a suitable gap filler accordingly.
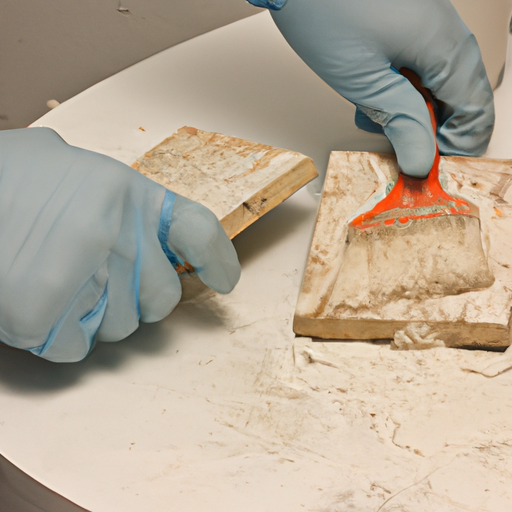
Step 3: Apply the Gap Filler
Once you have selected the appropriate gap filler, it’s time to apply it. Start by squeezing a small amount of the filler onto a putty knife or a similar tool. Then, gently press the filler into the gap, ensuring it fills the entire space. Use the putty knife to smooth out the surface and remove any excess filler.
Step 4: Allow the Gap Filler to Dry
After applying the gap filler, you need to give it enough time to dry. The drying time can vary depending on the type of filler you’re using, so refer to the product instructions for specific guidance. Avoid touching or disturbing the filled area until the filler is completely dry.
Step 5: Sand and Finish
Once the gap filler is dry, you may need to sand the surface to achieve a smooth finish. Use fine-grit sandpaper or a sanding block to gently sand the filled area. Be careful not to over-sand and damage the surrounding surface. After sanding, wipe away any dust and debris, and then apply a suitable finish or paint to match the surrounding area.
Conclusion
Using gap filler is a simple and effective way to fill gaps and cracks in various surfaces. By following these step-by-step instructions, you can ensure a successful application of gap filler. Remember to choose the right type of filler, prepare the surface properly, and allow sufficient drying time. With a little patience and attention to detail, you can achieve a seamless and professional-looking result.