How Do You Wire a Rear Camera: A Step-by-Step Guide
Installing a rear camera in your vehicle can greatly enhance your driving experience and improve safety. However, the process of wiring a rear camera may seem daunting if you’re not familiar with automotive electronics. In this step-by-step guide, we will walk you through the process of wiring a rear camera, ensuring a seamless installation.
Gather the Necessary Tools and Materials
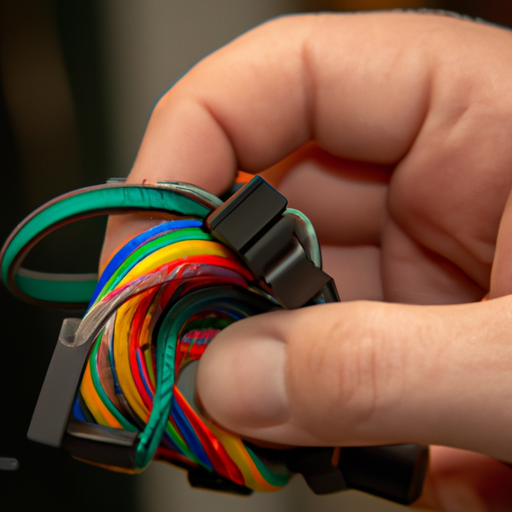
Before you begin, make sure you have all the tools and materials required for the installation. Here’s a list of what you’ll need:
1. Rear camera kit (including camera, wiring harness, and mounting hardware)
2. Wire strippers
3. Electrical tape
4. Butt connectors or soldering iron and solder
5. Crimping tool
6. Power drill and drill bits
7. Screwdriver set
8. Multimeter (optional but recommended)
Locate a Suitable Mounting Position
The first step is to find a suitable mounting position for your rear camera. Ideally, you want to place it in a spot that provides a clear view of the area behind your vehicle. Common mounting positions include the license plate area or the rear bumper. Ensure that the camera is securely mounted and won’t obstruct the license plate or any other important features.
Route the Camera Wiring
Next, you’ll need to route the camera wiring from the rear camera to the front of the vehicle. Start by identifying a path that avoids any moving parts or potential damage. You may need to remove interior panels or trim to access hidden wiring channels. Use a power drill and appropriate drill bits to create holes for routing the wiring.
Connect the Camera to the Reverse Light Circuit
To power the rear camera, you’ll need to connect it to the reverse light circuit. Locate the reverse light wiring harness near the rear of your vehicle. Use a multimeter to identify the positive and negative wires. Once identified, use wire strippers to strip a small section of insulation from the positive wire. Connect the positive wire from the camera’s wiring harness to the positive wire of the reverse light circuit using a butt connector or by soldering them together. Repeat the process for the negative wires.
Connect the Camera to the Display Unit
Now it’s time to connect the camera to the display unit, typically located on your dashboard. Identify the wiring harness of the display unit and locate the video input wire. Strip a small section of insulation from the video input wire and connect it to the corresponding video output wire from the camera’s wiring harness. Use a butt connector or soldering iron to secure the connection.
Secure and Test the Wiring
Once all the connections are made, it’s essential to secure the wiring to prevent any potential damage or interference. Use electrical tape or zip ties to secure the wiring along its route. Ensure that all connections are properly insulated and protected from moisture.
Before finishing the installation, test the rear camera to ensure it’s functioning correctly. Engage the vehicle’s reverse gear and check if the camera’s feed appears on the display unit. Make any necessary adjustments to the camera’s angle or wiring if needed.
Conclusion
Wiring a rear camera may seem like a complex task, but by following this step-by-step guide, you can successfully install a rear camera in your vehicle. Remember to gather all the necessary tools and materials, choose a suitable mounting position, route the wiring carefully, and make secure connections. With a properly installed rear camera, you’ll enjoy enhanced safety and peace of mind while reversing your vehicle.