Step 1: Gather the Necessary Tools
Before you begin changing a pitman arm, it’s important to have all the necessary tools handy. You will need a pitman arm puller, a socket set, a torque wrench, a ball joint separator, a hammer, a pry bar, and safety equipment such as gloves and safety glasses.
Step 2: Prepare the Vehicle
Park the vehicle on a level surface and engage the parking brake. Loosen the lug nuts on the front wheels using a lug wrench, but do not remove them completely. Use a jack to lift the front of the vehicle off the ground and secure it with jack stands. Then, remove the lug nuts and take off the front wheels.
Step 3: Locate the Pitman Arm
Locate the pitman arm, which is connected to the steering box on the driver’s side of the vehicle. It is a sturdy metal arm that connects the steering box to the steering linkage.
Step 4: Remove the Pitman Arm Nut
Using a socket wrench, remove the nut that secures the pitman arm to the steering box. This nut is usually large and may require a breaker bar for extra leverage. Once the nut is removed, set it aside in a safe place.
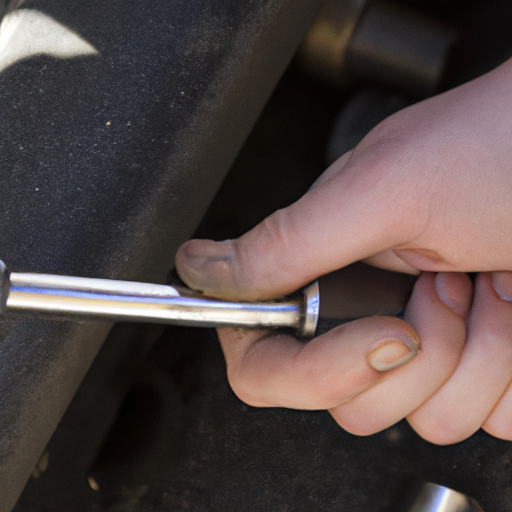
Step 5: Use a Pitman Arm Puller
Attach the pitman arm puller to the pitman arm. Make sure it is securely in place and then tighten the puller’s center screw with a socket wrench. As you tighten the screw, the pitman arm will start to separate from the steering box. Continue tightening until the pitman arm is completely free.
Step 6: Separate the Pitman Arm from the Steering Linkage
Using a ball joint separator, disconnect the pitman arm from the steering linkage. Place the separator between the pitman arm and the linkage and strike it with a hammer until the two separate. Be careful not to damage any surrounding components.
Step 7: Install the New Pitman Arm
Take the new pitman arm and align it with the steering box and the steering linkage. Slide it onto the splines and make sure it is properly seated. Reconnect the pitman arm to the steering linkage and tighten the nut securely.
Step 8: Torque the Pitman Arm Nut
Using a torque wrench, tighten the pitman arm nut to the manufacturer’s specifications. This ensures that the pitman arm is securely fastened and will not come loose during operation.
Step 9: Reassemble and Test
Reinstall the front wheels and tighten the lug nuts. Lower the vehicle off the jack stands using a jack and remove the stands. Finally, test the steering system by turning the steering wheel from lock to lock to ensure smooth operation.
Changing a pitman arm may seem like a daunting task, but by following these step-by-step instructions and using the proper tools, you can easily replace a worn or damaged pitman arm. Remember to exercise caution and prioritize safety throughout the process.