Introduction
Using a soldering iron for electronics is an essential skill for anyone involved in electronics repair or DIY projects. Whether you are a beginner or an experienced hobbyist, knowing how to effectively use a soldering iron can make your work easier and more efficient. In this article, we will guide you through the steps to use a soldering iron for electronics effectively.
Step 1: Safety First
Before you start using a soldering iron, it is crucial to prioritize safety. Make sure you are working in a well-ventilated area to avoid inhaling any fumes. Wear safety goggles to protect your eyes from potential splatters or sparks. Additionally, keep a fire extinguisher nearby, just in case.
Step 2: Choose the Right Soldering Iron
Selecting the right soldering iron is essential for achieving good results. Consider the wattage of the iron based on the type of work you will be doing. Higher wattage irons are suitable for larger components and thicker wires, while lower wattage irons are ideal for delicate work. Additionally, choose a soldering iron with a temperature control feature to adjust the heat according to your needs.
Step 3: Prepare Your Workstation
Before you begin soldering, set up a clean and organized workstation. Ensure that you have a stable surface to work on and that all the necessary tools and materials are within reach. Clean the tip of your soldering iron using a damp sponge or brass wire cleaner to remove any residue from previous use.
Step 4: Heat Up the Soldering Iron
Plug in your soldering iron and allow it to heat up to the desired temperature. The appropriate temperature will depend on the type of solder and components you are working with. Generally, a temperature between 350°C and 400°C is suitable for most electronics soldering tasks.
Step 5: Tin the Soldering Iron Tip
Once the soldering iron has reached the desired temperature, it’s time to tin the tip. Apply a small amount of solder to the tip to create a thin, even coating. This process helps improve heat transfer and ensures better solder flow during the actual soldering process.
Step 6: Prepare the Components
Before soldering, make sure the components you are working with are clean and free from any dirt, oxidation, or excess solder. Use a solder wick or a desoldering pump to remove any existing solder from the joint if necessary. Clean the components with isopropyl alcohol and a lint-free cloth to ensure a good connection.
Step 7: Soldering Technique
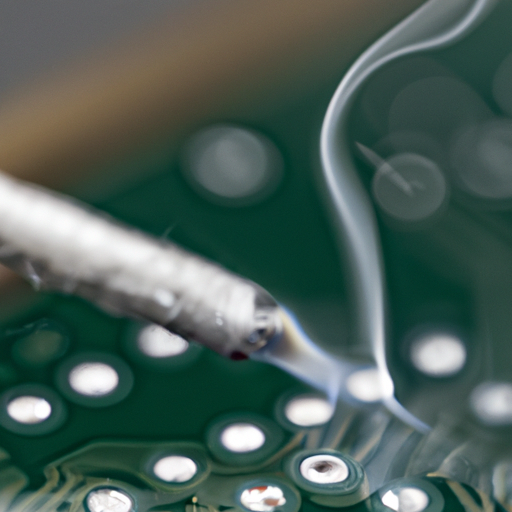
Hold the soldering iron like a pen, with a relaxed grip. Touch the tip of the iron to the joint where the component and the circuit board meet. Apply heat to the joint for a few seconds to allow it to reach the desired temperature. Then, touch the solder wire to the joint, not the soldering iron tip. The heat from the joint will melt the solder, creating a strong bond. Ensure that the solder flows evenly and covers the joint completely.
Step 8: Inspect and Clean
After soldering, inspect your work to ensure that the joints are clean, shiny, and free from any cold solder joints or bridges. Use a magnifying glass if necessary. If you notice any issues, rework the joint by reheating it and adding more solder if needed. Finally, clean the soldering iron tip with a damp sponge or brass wire cleaner before moving on to the next joint.
Conclusion
Mastering the art of using a soldering iron for electronics is a valuable skill that can open up a world of possibilities in the world of electronics repair and DIY projects. By following the steps outlined in this article, you can effectively use a soldering iron to create strong and reliable connections. Remember to prioritize safety, choose the right soldering iron, and practice good soldering techniques. Happy soldering!


