How to Fix Weather Stripping on a Window: A Step-by-Step Guide
Weather stripping plays a crucial role in keeping your home energy-efficient and protected from the elements. Over time, it can wear out or become damaged, leading to drafts and higher energy bills. If you’re wondering how to fix weather stripping on a window, you’ve come to the right place. In this step-by-step guide, we’ll walk you through the process of replacing weather stripping to restore the efficiency of your windows.
Step 1: Assess the Condition
Before you begin the repair process, carefully inspect the existing weather stripping on your window. Look for signs of wear, such as cracks, gaps, or peeling. Determine whether the stripping needs to be partially or entirely replaced.
Step 2: Gather the Necessary Tools and Materials
To fix the weather stripping, you’ll need a few tools and materials. Make sure you have the following items on hand:
– Utility knife or putty knife
– Weather stripping adhesive
– Replacement weather stripping (if needed)
– Measuring tape
– Scissors
Step 3: Remove the Old Weather Stripping
Using a utility knife or putty knife, carefully remove the old weather stripping from the window frame. Take your time to avoid damaging the frame or glass. If the stripping is stubborn, you can use a heat gun to soften the adhesive and make removal easier.
Step 4: Clean the Window Frame
Once the old weather stripping is removed, clean the window frame thoroughly. Remove any dirt, debris, or adhesive residue using a mild detergent and warm water. Allow the frame to dry completely before proceeding.
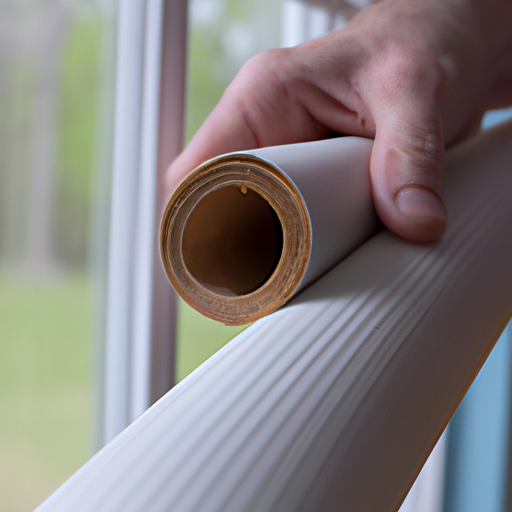
Step 5: Measure and Cut the New Weather Stripping
If you need to replace the weather stripping entirely, measure the dimensions of the window frame using a measuring tape. Use these measurements to cut the replacement weather stripping to the appropriate length. Ensure that the stripping is slightly longer than the frame to provide a snug fit.
Step 6: Apply the Weather Stripping Adhesive
Apply a thin, even layer of weather stripping adhesive to the back of the replacement stripping. Be sure to follow the manufacturer’s instructions for the adhesive application. If you’re reusing the existing weather stripping, you can skip this step.
Step 7: Install the New Weather Stripping
Carefully press the replacement weather stripping onto the window frame, starting from one corner. Ensure that it adheres firmly and aligns with the frame. If you’re reusing the old stripping, press it back into place, making sure it fits snugly.
Step 8: Test for Proper Seal
Once the new weather stripping is installed, close the window and check for any gaps or drafts. Run your hand along the edges to feel for any air leaks. If necessary, make adjustments or add additional adhesive to ensure a proper seal.
Step 9: Repeat the Process for Other Windows
If you have multiple windows with weather stripping issues, repeat the above steps for each one. It’s essential to address any damaged or worn-out weather stripping throughout your home to maintain energy efficiency.
By following this step-by-step guide, you can easily fix weather stripping on your windows and restore their efficiency. Remember to regularly inspect and maintain your weather stripping to prevent future issues and keep your home comfortable and energy-efficient.