Introduction
When a ceramic tile breaks, it can be frustrating, especially if it’s a part of a larger design or pattern. However, with the right tools and techniques, you can easily glue broken ceramic tiles back together. In this step-by-step guide, we will walk you through the process of repairing broken ceramic tiles, ensuring a seamless and long-lasting fix.
Step 1: Gather the necessary materials
Before you begin the repair process, make sure you have all the materials you need. This includes:
– Epoxy adhesive: Look for a high-quality epoxy adhesive that is specifically designed for bonding ceramic materials.
– Mixing container: Use a small disposable container to mix the epoxy adhesive.
– Mixing stick: A wooden or plastic stick will work well for stirring the adhesive.
– Sandpaper: You’ll need sandpaper to smooth out any rough edges on the broken tile.
– Clean cloth: Keep a clean cloth handy to wipe away any excess adhesive.
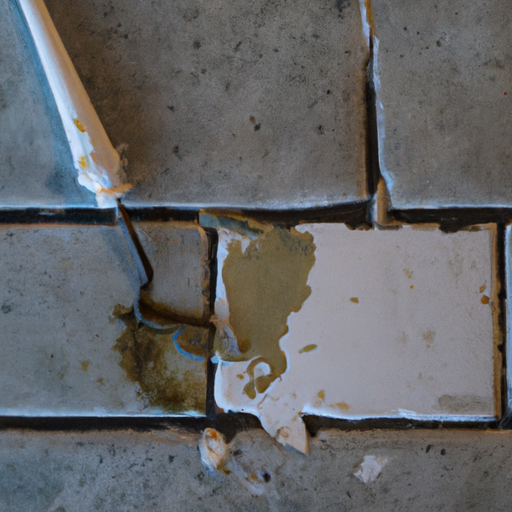
Step 2: Prepare the broken tile
Start by cleaning the broken edges of the ceramic tile. Use a damp cloth to remove any dirt or debris. If the edges are rough or jagged, gently sand them down with sandpaper until they are smooth. This will help the adhesive bond better and create a seamless repair.
Step 3: Mix the epoxy adhesive
Follow the instructions on the epoxy adhesive packaging to mix the adhesive properly. Typically, you’ll need to combine equal parts of the adhesive and activator. Use the mixing stick to thoroughly blend the two components until you achieve a consistent color and texture.
Step 4: Apply the adhesive
Using the mixing stick or a small brush, apply a thin layer of epoxy adhesive to one of the broken edges of the ceramic tile. Be careful not to apply too much adhesive as it may squeeze out when you press the tile back together.
Step 5: Align and press the tile
Carefully align the broken edges of the tile and press them together firmly. Hold the tile in place for a few minutes to allow the adhesive to set. Wipe away any excess adhesive that may have squeezed out during the pressing process.
Step 6: Let it cure
Allow the repaired tile to cure for the recommended time specified on the epoxy adhesive packaging. This will ensure that the adhesive fully sets and creates a strong bond. Avoid placing any heavy objects on the repaired tile during this curing period.
Step 7: Finishing touches
Once the adhesive has fully cured, use sandpaper to smooth out any rough edges or excess adhesive. Take your time to ensure a seamless finish. Clean the repaired tile with a damp cloth to remove any dust or debris.
Conclusion
Repairing broken ceramic tiles can be a simple and cost-effective solution. By following these step-by-step instructions, you can successfully glue broken ceramic tiles back together. Remember to use a high-quality epoxy adhesive, prepare the broken edges properly, and allow sufficient curing time for a long-lasting repair. With a little patience and attention to detail, your ceramic tiles will look as good as new.