Introduction
Leaded glass panels are a beautiful addition to any home or office space. Not only do they add a touch of elegance, but they also provide privacy while allowing natural light to filter through. If you’re looking to install leaded glass panels yourself, this step-by-step guide will walk you through the process.
Gather the Necessary Tools and Materials
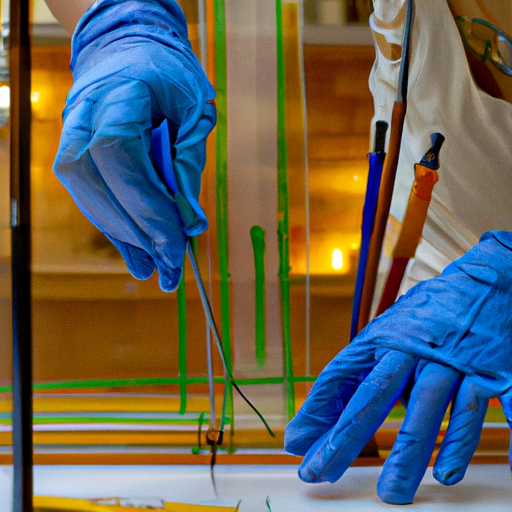
Before you begin the installation, make sure you have all the tools and materials you’ll need. This includes leaded glass panels, a measuring tape, a pencil, a glass cutter, a soldering iron, lead came strips, flux, solder, putty, a putty knife, and safety goggles.
Measure and Cut the Glass
Start by measuring the dimensions of the window or door where you’ll be installing the leaded glass panels. Use a measuring tape to get accurate measurements. Once you have the measurements, transfer them onto the glass panels using a pencil. Carefully cut the glass along the marked lines using a glass cutter.
Prepare the Lead Came Strips
Next, prepare the lead came strips that will hold the glass pieces together. Measure and cut the lead came strips to match the dimensions of the glass panels. Make sure the strips are slightly longer than the edges to allow for overlapping.
Assemble the Glass Panels
Lay the glass panels on a flat surface and position the lead came strips around the edges. Use a soldering iron to heat the lead came strips and solder them together at the corners. Apply flux to the joints before soldering to ensure a strong bond. Repeat this process for each glass panel.
Apply Putty and Install the Panels
Once the glass panels are assembled, apply putty to the edges of the lead came strips using a putty knife. This will help secure the glass panels in place. Carefully place the panels into the window or door frame, ensuring a snug fit. Press the panels firmly against the frame to secure them.
Finishing Touches
After the panels are installed, use a putty knife to remove any excess putty. Clean the glass panels with a glass cleaner to remove any fingerprints or smudges. Finally, step back and admire your newly installed leaded glass panels.
Conclusion
Installing leaded glass panels can be a rewarding DIY project that adds beauty and privacy to your space. By following this step-by-step guide, you’ll be able to install leaded glass panels with ease. Remember to take your time, use the proper tools and materials, and prioritize safety throughout the process. Enjoy the enhanced aesthetics and functionality that leaded glass panels bring to your home or office.