Introduction
Taking apart a snowblower carburetor may seem like a daunting task, but with the right guidance, it can be done safely and efficiently. In this step-by-step guide, we will walk you through the process of disassembling a snowblower carburetor, ensuring that you can perform this task with ease. So, let’s get started!
Step 1: Gather the Necessary Tools
Before you begin disassembling the snowblower carburetor, make sure you have all the required tools handy. These typically include a screwdriver set, pliers, a carburetor cleaning solution, a small brush, and a clean cloth. Having these tools within reach will save you time and frustration during the disassembly process.
Step 2: Prepare the Work Area
Find a well-ventilated and well-lit area to work on your snowblower carburetor. Lay down a clean cloth or a piece of cardboard to protect the surface and prevent any small parts from getting lost. It’s also a good idea to have a container nearby to hold the screws and other small components that you’ll be removing.
Step 3: Disconnect the Carburetor
To begin disassembling the snowblower carburetor, you’ll first need to disconnect it from the engine. Locate the carburetor on your snowblower and carefully disconnect any fuel lines or linkages that are attached to it. Take note of how these connections are made, as you’ll need to reassemble them correctly later.
Step 4: Remove the Carburetor Cover
Using a screwdriver, remove the screws that secure the carburetor cover in place. Gently lift off the cover, being mindful of any gaskets or seals that may be attached. Set the cover aside in a safe place.
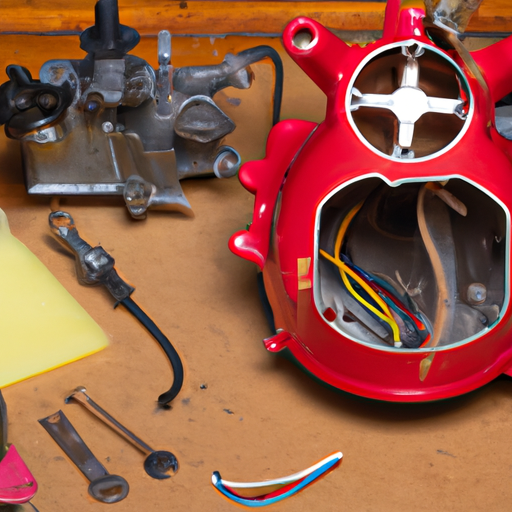
Step 5: Disassemble the Carburetor
With the carburetor cover removed, you can now access the internal components. Carefully remove the screws or bolts that hold the carburetor together. As you disassemble the carburetor, take note of the order in which the parts are removed. This will make reassembly easier later on.
Step 6: Clean the Carburetor Components
Once the carburetor is disassembled, it’s time to clean the individual components. Using a carburetor cleaning solution, soak the parts in a container for the recommended amount of time. Afterward, use a small brush to scrub away any dirt, debris, or residue. Rinse the components thoroughly with clean water and allow them to dry completely.
Step 7: Reassemble the Carburetor
After the carburetor components are dry, it’s time to reassemble them. Refer to the notes or pictures you took during the disassembly process to ensure that you put everything back in the correct order. Carefully tighten the screws or bolts to secure the carburetor together.
Step 8: Reconnect the Carburetor
Once the carburetor is reassembled, it’s time to reconnect it to the engine. Carefully attach any fuel lines or linkages that you previously disconnected. Double-check that all connections are secure and properly tightened.
Step 9: Test the Snowblower
With the carburetor reassembled and reconnected, it’s time to test your snowblower. Start the engine and observe its performance. If the engine runs smoothly and the snowblower operates as expected, then you have successfully disassembled and cleaned the carburetor.
Conclusion
Disassembling a snowblower carburetor may seem like a daunting task, but by following this step-by-step guide, you can safely and effectively complete the process. Remember to gather the necessary tools, prepare your work area, and take note of the disassembly order to ensure a smooth reassembly. With a clean and properly functioning carburetor, your snowblower will be ready to tackle the winter season with ease.