Introduction
DraftSight is a powerful computer-aided design (CAD) software that allows users to create and edit 2D drawings. One of the essential features in DraftSight is the ability to use ordinate dimensions. In this step-by-step guide, we will walk you through the process of using ordinate dimensions in DraftSight, helping you enhance your drafting skills and improve the accuracy of your drawings.
Understanding Ordinate Dimensions
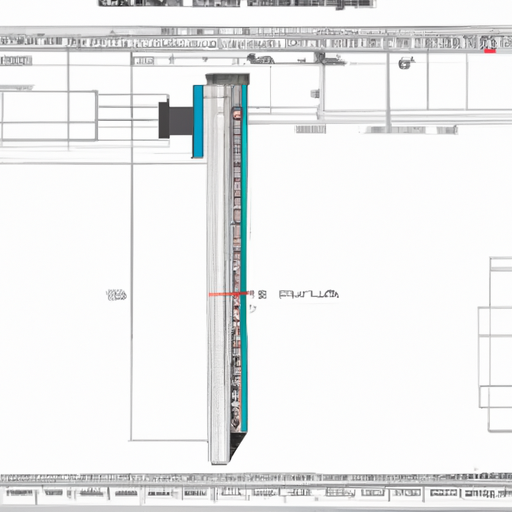
Ordinate dimensions are a type of dimensioning system used to establish the location of features in relation to a common reference point. Instead of measuring each feature individually, ordinate dimensions allow you to specify the X or Y coordinate of a feature from a fixed reference point. This method simplifies the dimensioning process and ensures consistent and accurate measurements.
Step 1: Open DraftSight and Create a New Drawing
To begin using ordinate dimensions in DraftSight, open the software and create a new drawing file. You can either start from scratch or open an existing drawing that you want to add ordinate dimensions to.
Step 2: Set Up the Coordinate System
Before you can use ordinate dimensions, you need to set up the coordinate system. To do this, go to the “Tools” menu and select “Options.” In the Options dialog box, navigate to the “Drawing” tab and click on “Coordinate System.” Choose the desired coordinate system type and specify the reference point.
Step 3: Activate the Ordinate Dimension Tool
Once the coordinate system is set up, you can activate the ordinate dimension tool. Click on the “Dimension” menu, then select “Ordinate.” Alternatively, you can use the “ORD” shortcut command to activate the tool.
Step 4: Place the First Ordinate Dimension
With the ordinate dimension tool active, click on the first point you want to dimension. This point will serve as the reference point for subsequent ordinate dimensions. After selecting the reference point, move the cursor in the desired direction and click to place the first ordinate dimension.
Step 5: Place Additional Ordinate Dimensions
To add more ordinate dimensions, move the cursor in the desired direction and click to place each dimension. DraftSight will automatically calculate the X or Y coordinate of each feature based on the reference point and the distance between dimensions.
Step 6: Edit and Modify Ordinate Dimensions
If you need to edit or modify any ordinate dimensions, you can use the various editing tools available in DraftSight. To move a dimension, select it and use the grip points to adjust its position. You can also edit the dimension text, change the style, or modify other properties as needed.
Step 7: Remove Ordinate Dimensions
If you want to remove an ordinate dimension, simply select it and press the “Delete” key on your keyboard. The dimension will be removed, and the remaining dimensions will adjust accordingly.
Conclusion
Using ordinate dimensions in DraftSight can greatly improve your drafting efficiency and accuracy. By establishing a common reference point and specifying the X or Y coordinate of features, you can create precise and consistent measurements in your 2D drawings. Follow this step-by-step guide to master the use of ordinate dimensions in DraftSight and take your drafting skills to the next level.


